Opposite Game:
Free Printable PDF for Speech Therapy or Classroom
Children with language delays or vocabulary challenges may struggle to understand and use opposites. This fun, interactive file folder game will give you everything you need to practice opposites. Great for use in speech therapy or as a literacy station in the classroom.
Opposite Game Brief Description:
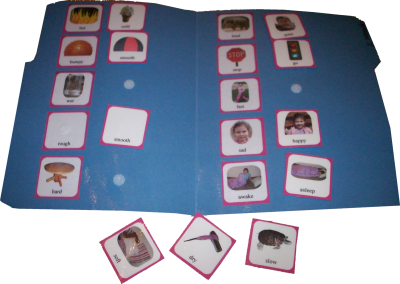
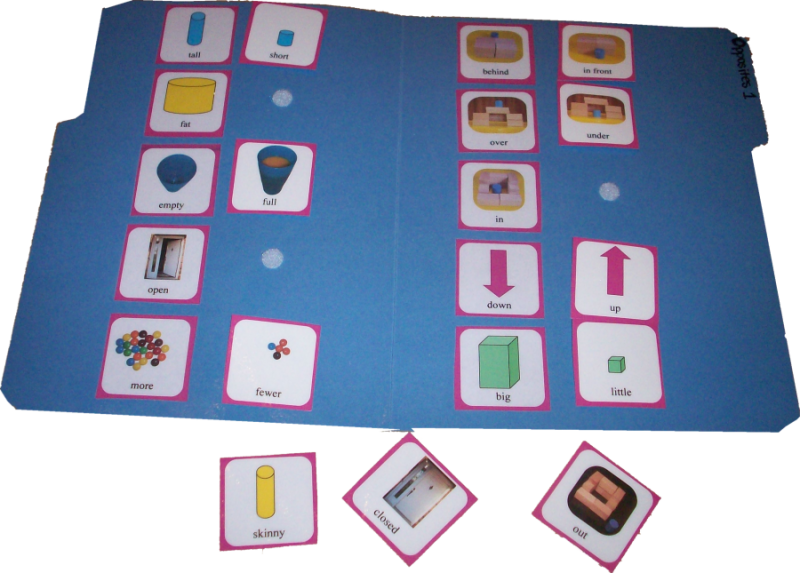
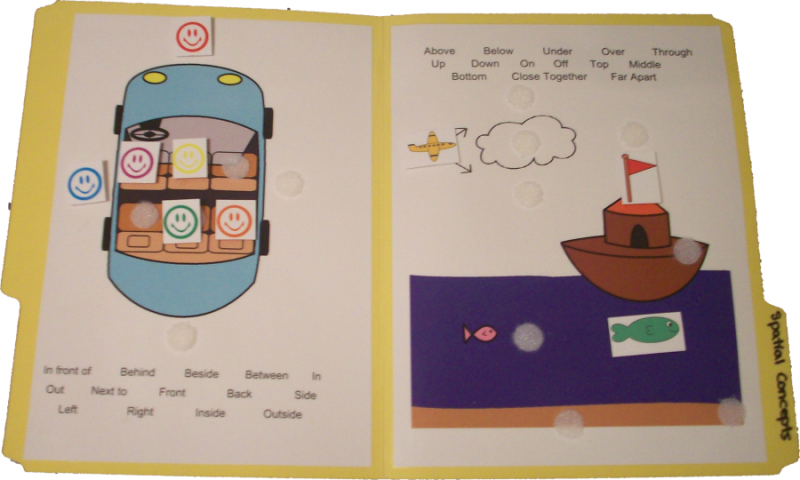
Print out these pictures and glue them into a file folder. Then, cut out the other page and have your child velcro the pictures onto the folder next to its opposite.
Opposite Game Materials Needed:
- Two File Folders
- Paper to print this file
- Adhesive Velcro (such as dots or strips, can be found at walmart or craft stores)
Opposite Game Assembly Instructions:
- Print out page 3 on regular printer paper. Cut out the squares and glue them to the inside of two file folders as pictured above. Make sure to leave space for the answers. If desired, laminate the folder for added protection.
- Print page 5 on card stock or thicker printer paper. If desired, laminate this page for added protection. Cut out each square and attach a piece of Velcro to the back of each one.
- Place Velcro pieces on the file folder where answers to the questions should go. Make sure to use the opposite side of the Velcro from the ones you put on the pieces.
- Add a piece of scratchy Velcro to the blank card that says “rough” for the match with “rough” and “smooth”, you will have your child feel the cards. Don’t put anything on the blank “smooth” card so that it stays smooth.
- Use the game as described in the instructions on the following pages. Choose one skill that your child needs to work on and do the activity for that skill.
Opposite Game Speech and Language Activities
Matching Opposite Game:
This game is designed as practice for children working on learning opposites. Show your child one picture on the folder and help him find the correct answer based on the level your child is working at. Start with the easiest level and work your way harder once your child is successful with that.
Level 1 (easiest): Show your child two possible answers and have him pick the right one and place it next to the question.
Level 2: Show your child three or four possible answers and have him pick the right one.
Level 3: Ask your child the question (What is the opposite of hot?) and allow her to see the
picture (from the question) but do not show her any of the possible answers. See if she
can come up with it on her own. When she does, hand her the answer and let her Velcro
it on.
Level 4 (hardest): Ask your child the question without using any visuals (put the folder away).
Do this during conversation/play or while playing a structured game (have your child answer
a question before each turn).
Describing Opposite Game:
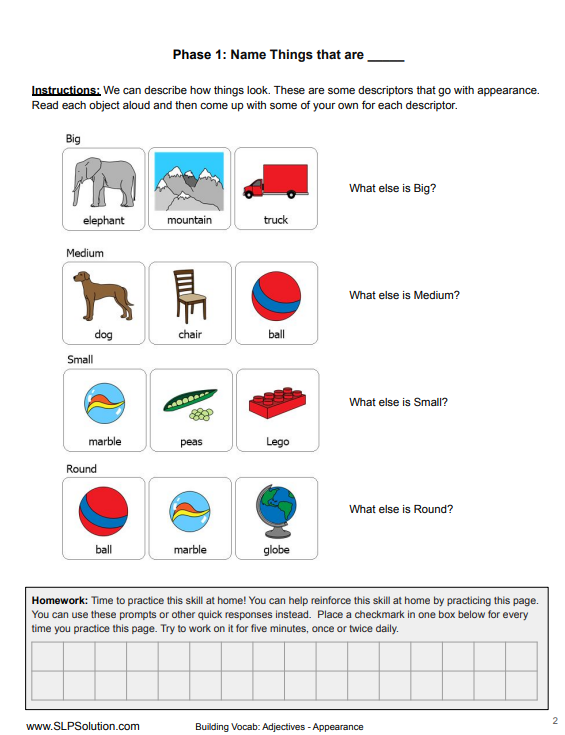
Many of the pictures used in this game depict various descriptors such as temperature, texture, spatial concepts, etc. You can work on these words at different levels as well:
Level 1 (easiest): Receptively identify. Put all of the pictures on in the correct places. Then have your child point to one of them by saying something like “Show me something that
is hot”.
Level 2: Expressively label. Direct your child’s attention to one set of opposites. Describe one of the pictures and see if your child can identify the other picture. “This one feels hot, so this one feels…?”
Level 3: Ask your child about other objects (not pictured on this game) and ask which descriptor matches that thing. (ex: “What about bath water? Is that hot or cold?”)
Level 4 (hardest): Have your child come up with something that matches the descriptor (ex:
“Tell me something else that’s hot.”)
Following Directions:
Use these opposites to work on following directions by asking your child to match the objects in a certain order. Start with two-steps and work your way up. (ex-first put on hot, then put on fast)
Vocabulary:
There are many great vocabulary words in this game. You can work on them receptively (“point to the elephant”) or expressively (“What’s this?”).
Spatial Concepts:
Use this game to work on concepts such as “next to” (put it next to the bird) and “beside”.

About the Author: Carrie Clark, MA CCC-SLP
Hi, I’m Carrie! I’m a speech-language pathologist from Columbia, Missouri, USA. I’ve worked with children and teenagers of all ages in schools, preschools, and even my own private practice. I love digging through the research on speech and language topics and breaking it down into step-by-step plans for my followers.
Connect with Me:








Hello, I’m unable to download this activity. Could you help me please?
Sorry, I commented too soon! I found how to 🙂 Thank you, can’t wait to use!
https://www.speechandlanguagekids.com/free-speech-and-language-resource-library-for-teachers-and-other-professionals/?inf_contact_key=8bd5c614f33963cac2b6fbe648bd190acc0558ed5d4c28cbfab114022b1ec50d
Hi, Lacy-
Please check your inbox, as we have emailed you the requested game.
As someone who has just recently started working in this industry again after a lengthy career as a teacher of students with special needs, I found the piece to be both very helpful and great.
This Opposite Game sounds like a fantastic resource for kids with language delays! Interactive activities like this make learning fun and effective. Plus, using it in speech therapy or the classroom is a great idea.
As I’ve progressed in my current job, I want you to know how much your encouraging comments and constructive criticism have meant to me. I want you to know how much I appreciate it. Kindly convey your appreciation in the appropriate manner.